My Settings
PERMISSIONS Refer to SETUP > My Info in Permissions.
NAVIGATION Setup > My Settings
About
The My Settings page allows you to edit your own user details and preferences.
NOTE Administrators can manage any user account on the Users page. Refer to Users.
Refer to Account Settings for information about Datto RMM account details. Refer to Global Settings for information about Datto RMM account access control, Agent settings, email settings and recipients, variables, and user-defined fields.
View in Partner Portal
The View in Partner Portal button is only displayed if you have a Datto Partner Portal account. Click the button to open the User Settings page in Datto Partner Portal where you can change your password and configure two-factor authentication (2FA). Refer to Managing passwords and Two-factor authentication.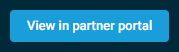
Preferences
| Field | Description |
|---|---|
| Current Security Level | Allows you to change your current security level. The drop-down menu lists all security levels that are assigned to your user account. Switching your security level will only apply to your current session. Your default security level will be used the next time you log in to your account. Refer to Default Security Level. You can also change your current security level in the Agent Browser and the legacy UI. Refer to Switching security levels. A user's security levels can also be changed when editing a user. Refer to Editing a user. For information about security levels, refer to Security levels. |
| Default Security Level | Allows you to change your default security level. The drop-down menu lists all security levels that are assigned to your user account. Your default security level will be used the next time you log in to your account. However, you may choose to apply a different security level to your current session. Refer to Current Security Level.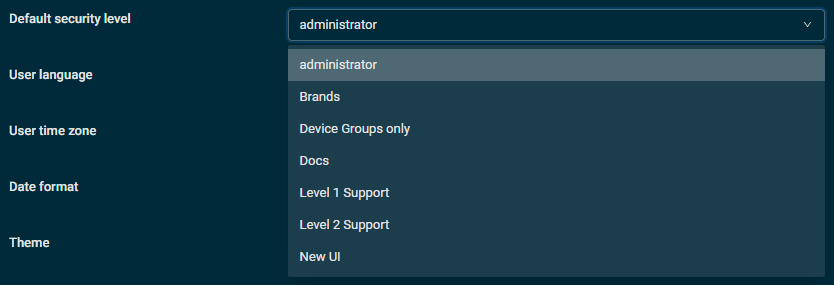 A user's security levels can also be changed when editing a user. Refer to Editing a user. For information about security levels, refer to Security levels. |
| User Language | Allows you to change the language of the web interface. Changing the language in your own user account will not affect the language settings of other users. From the drop-down menu, select one of the following languages: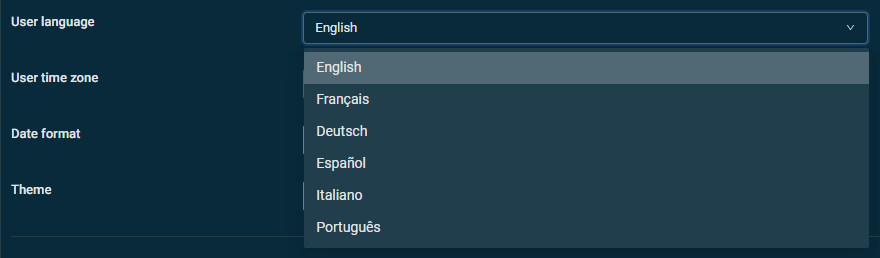
The page will automatically be refreshed and displayed in the selected language. |
| User Time Zone | Allows you to apply your preferred time zone in your user account. Time stamps and dates/times in schedules will be displayed in the time zone you select from the drop-down list. Find your time zone either by entering the name of a location in the search bar or by scrolling through the list of options. EXAMPLE User A has set their user time zone to UTC-4. User B has set their user time zone to UTC+11. It is also important to note that if the time zone configured in Account Settings is different from the User Time Zone, it is important for users to understand how this can affect scheduling. EXAMPLE User A has their user time zone set to UTC-5, whereas the account time zone is set to GMT (UTC-0). User A schedules a job to trigger on Saturday at 20:00, which is set in UTC-5. Computers whose local time zone is set to GMT will have the job execute at 01:00 on Sunday, which is the same time as 20:00 on Saturday in UTC-5. Likewise, users in Datto RMM that are using GMT as their time zone will see this difference as well. |
| Date Format | Allows you to choose the format in which time stamps are displayed in your user account. The default selection is the international standard ISO 8601, which shows the actual date and time in the format YYYY-MM-DD HH:MM:SS. |
| Theme | Allows you to change the color scheme of your account. Select Light to change your theme to light mode or Dark to change your theme to dark mode. |
| Kaseya Assist | Allows you to choose whether Kaseya Assist chatbot is shown or hidden.  |
Notifications
| Field | Description |
|---|---|
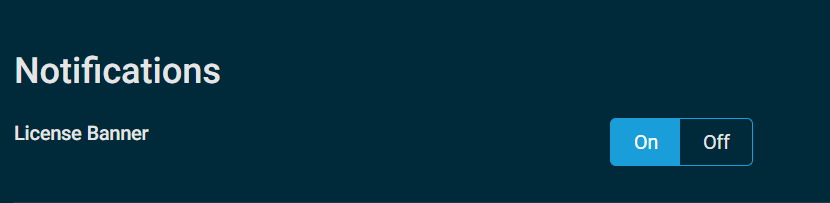
| License Banner | Allows you to select if you want to see in-product reminders to review variable license usage ahead of month-end billing calculations. Refer to Billing reminder and license usage banner notifications. |
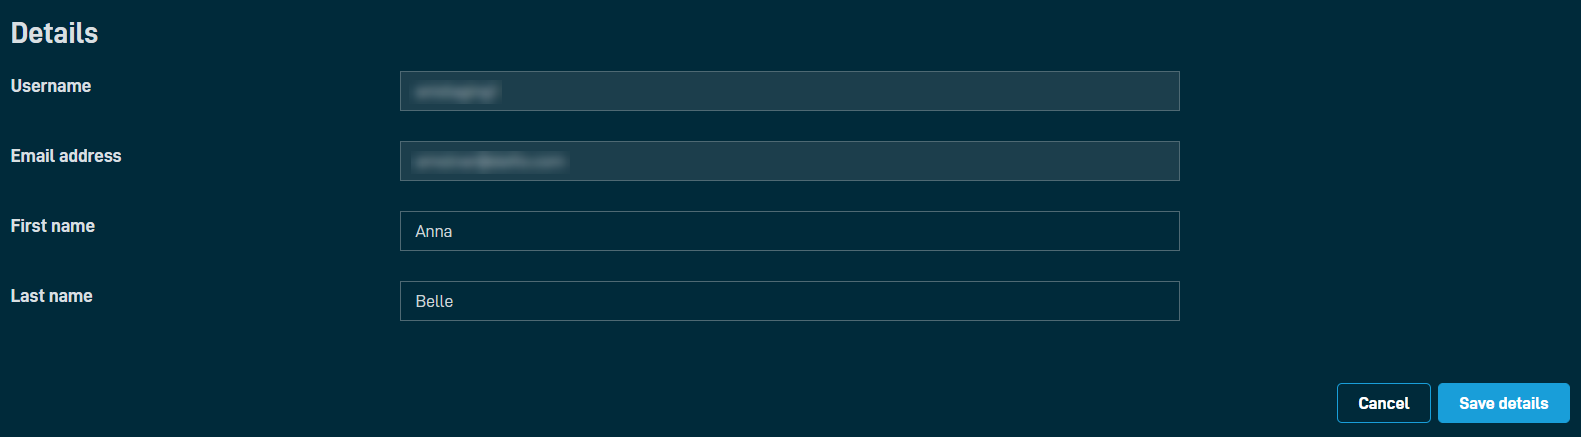
Details
| Field | Description |
|---|---|
| Username | Displays the username you use to log in to Datto RMM. This field cannot be edited. |
| Email Address | Displays the email address that is associated with your Datto RMM user account. This field cannot be edited. |
| First Name | Enter your first name. To save the change, click Save Details. To discard the change, click Cancel. |
| Last Name | Enter your last name. To save the change, click Save Details. To discard the change, click Cancel |


